Interior Surfaces of the Monolithic Dome
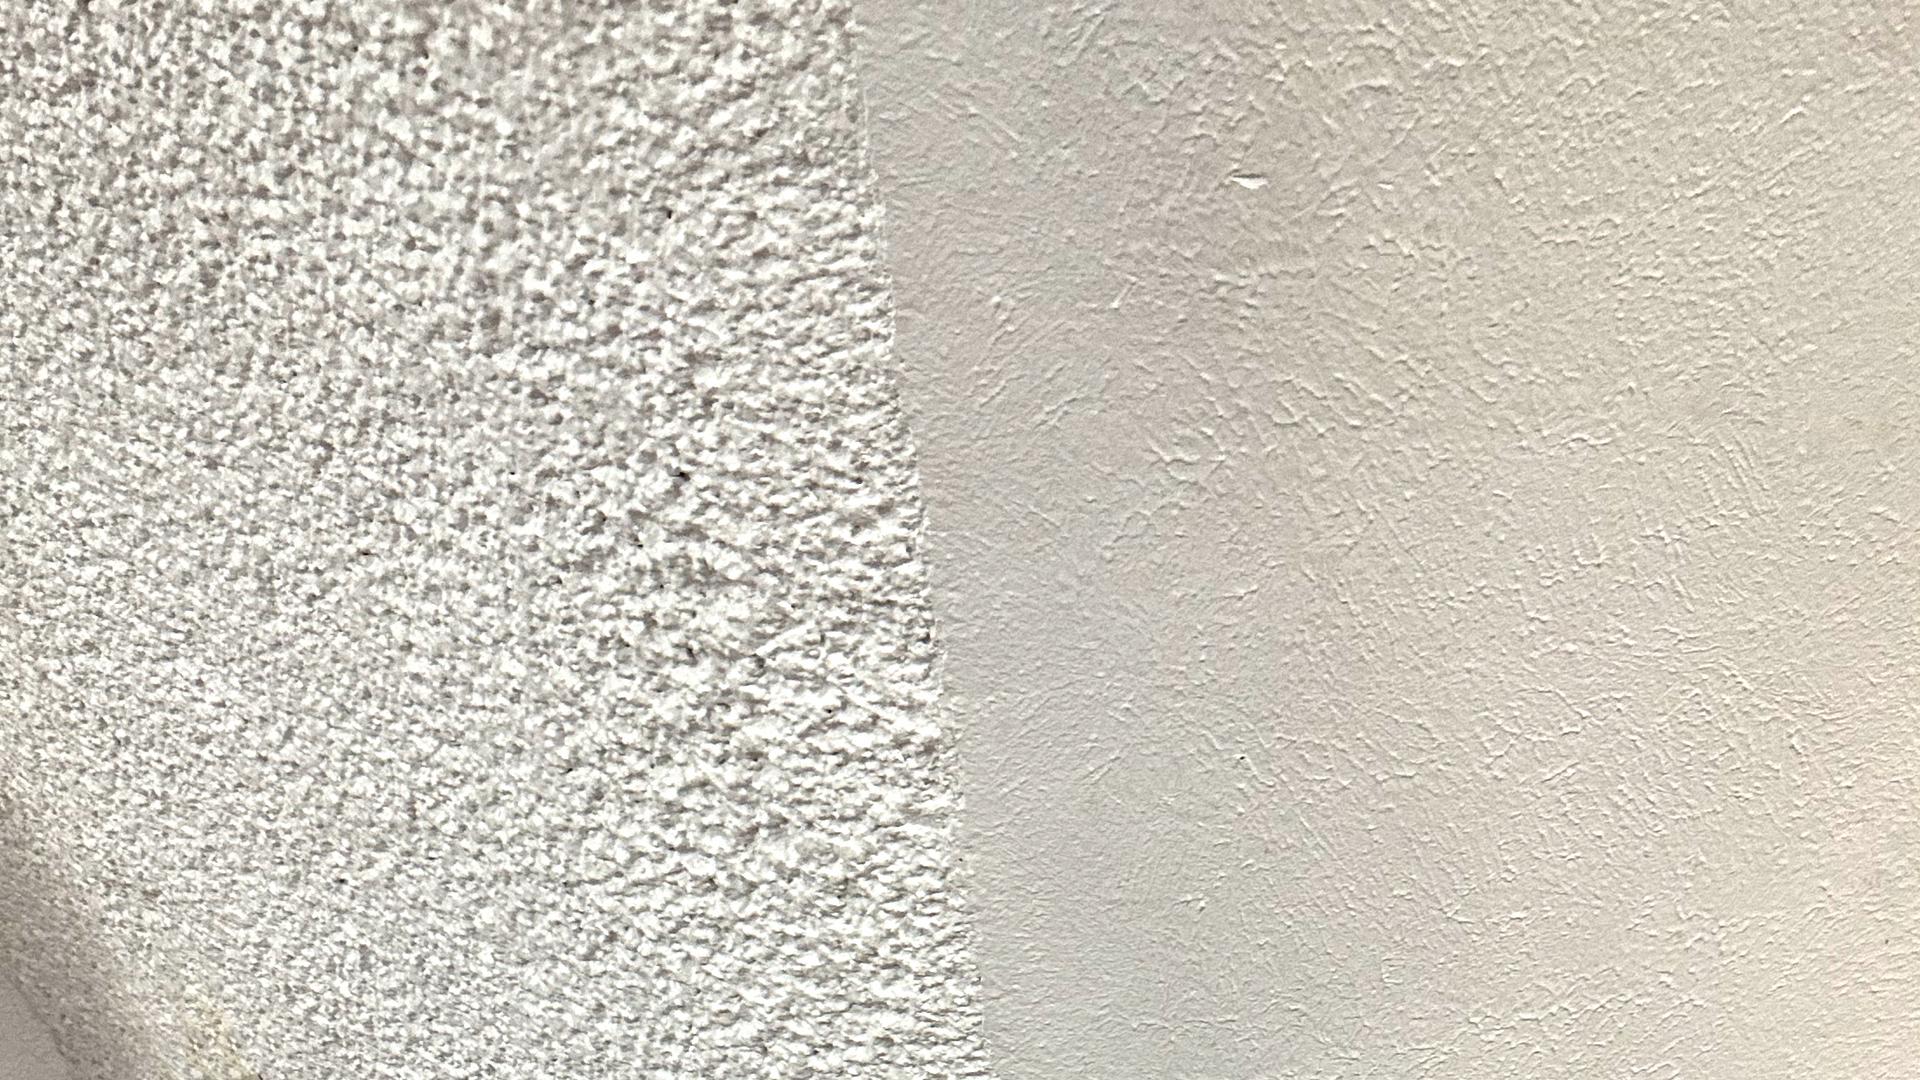
A close-up of the interior surface of our multipurpose center at the Monolithic Dome Institute Research and Industrial Park. The rough surface on the left is the natural result of shotcrete sprayed by an expert using an industrial sprayer. The smooth surface on the right was created by troweling smooth two thin layers of shotcrete before painting.
Shotcrete is applied to the inside of a Monolithic Dome when it is constructed, leaving a naturally textured sprayed finish. The sprayed finish will, of course, be rough from the impact of aggregate. All of the following factors can change the interior surface characteristics of the dome:
- The aggregate in the mix.
- The wetness of the mix.
- The type of aggregate, whether smooth or rough.
- The use of fibers.
There are various finished interior surfaces to choose from when building a Monolithic Dome.
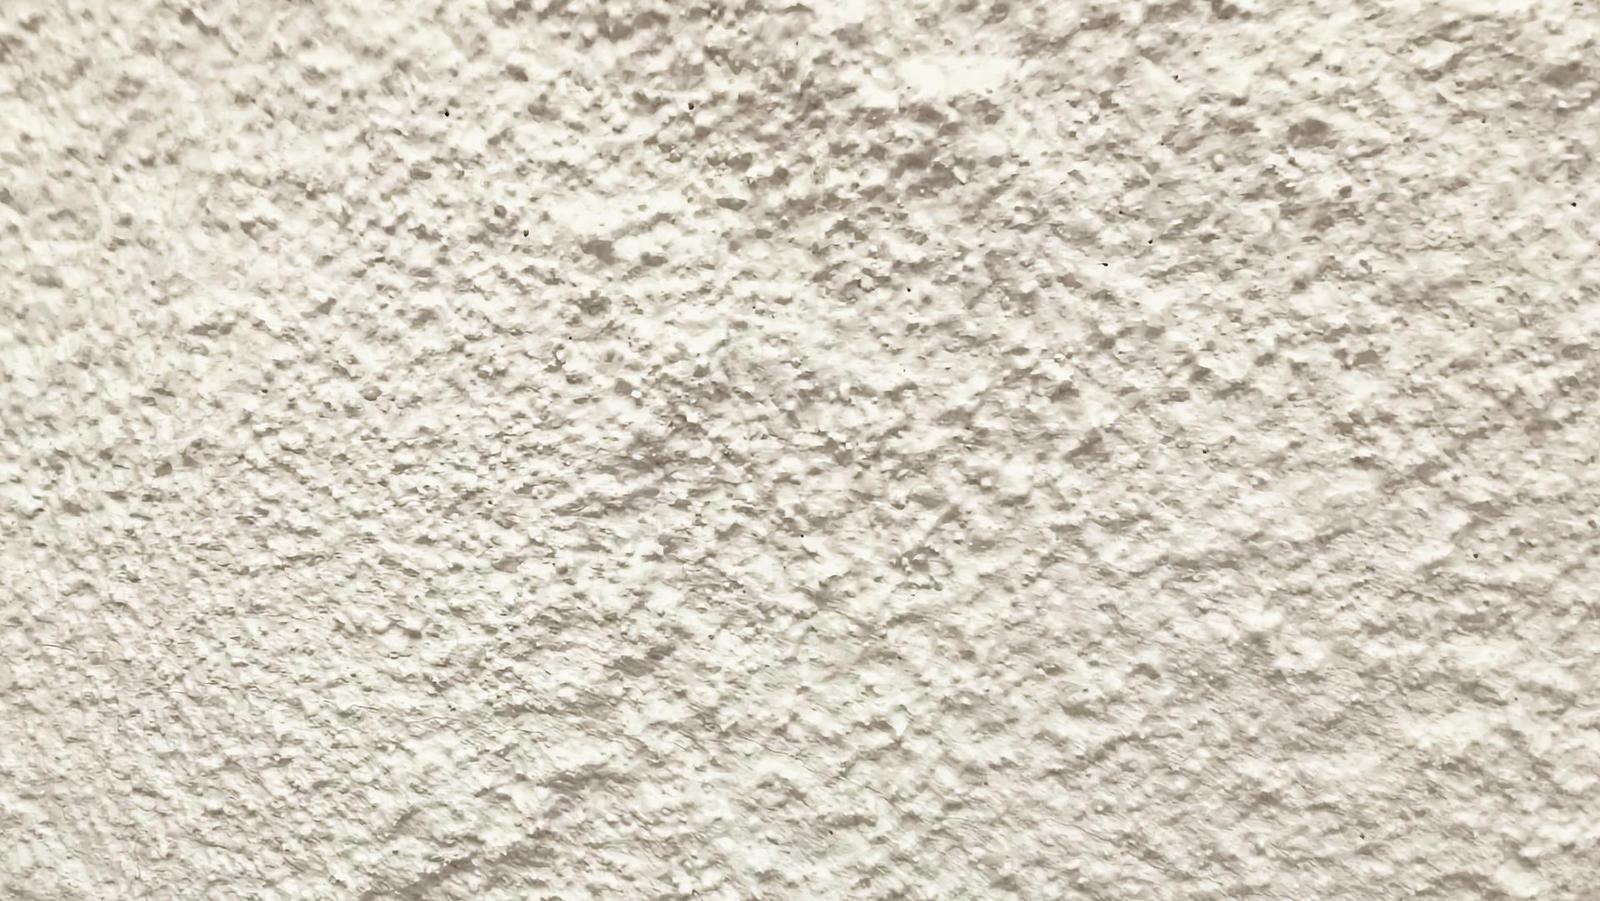
This rough surface would be expected on the interior of a big dome built with an industrial shotcrete machine. There’s nothing wrong with this surface, but fewer troughs and ridges in the dimpled finish should be seen on the interior of smaller domes when an expert workman sprays the finish coats of shotcrete using a smaller nozzle and a shotcrete mix without aggregate.
Left as Sprayed
In this case, the interior is left exactly as the spray operator finished it. We can break this into two general categories. One, spraying is done by heavier equipment for faster completion. This is usually done on large, industrial storages. The surface is generally more pocked with deeper indentations because of the thicker pass made with the shotcrete machine. This thicker pass of soft concrete allows the rock to embed deeper into the larger crevasses and craters. This is what we would expect on large domes, especially for industrial use.
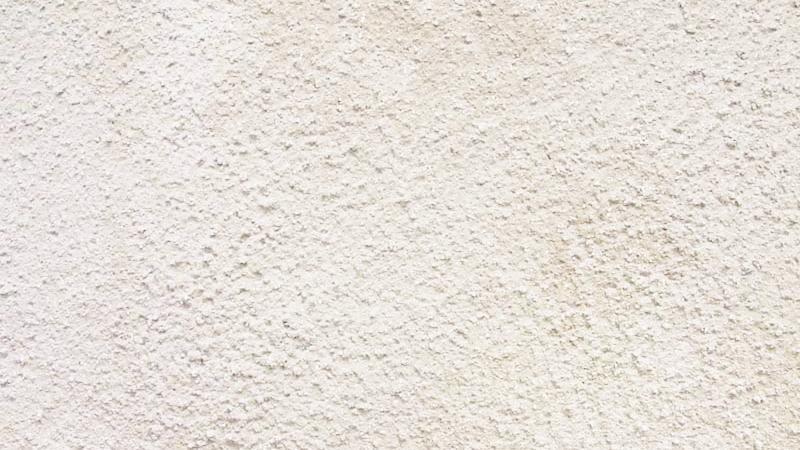
This beautiful texture is the result of an expert applicator using a very small nozzle to spray a sand mix of shotcrete without heavy aggregate. A worker came in behind the sprayer and knocked off spikes before painting.
A very rough surface can be smoothed and softened with a lighter application after it has set. The lighter application needs to be with sand only, no big rock mixture. The lighter application will fill in the deeper craters and smooth them out.
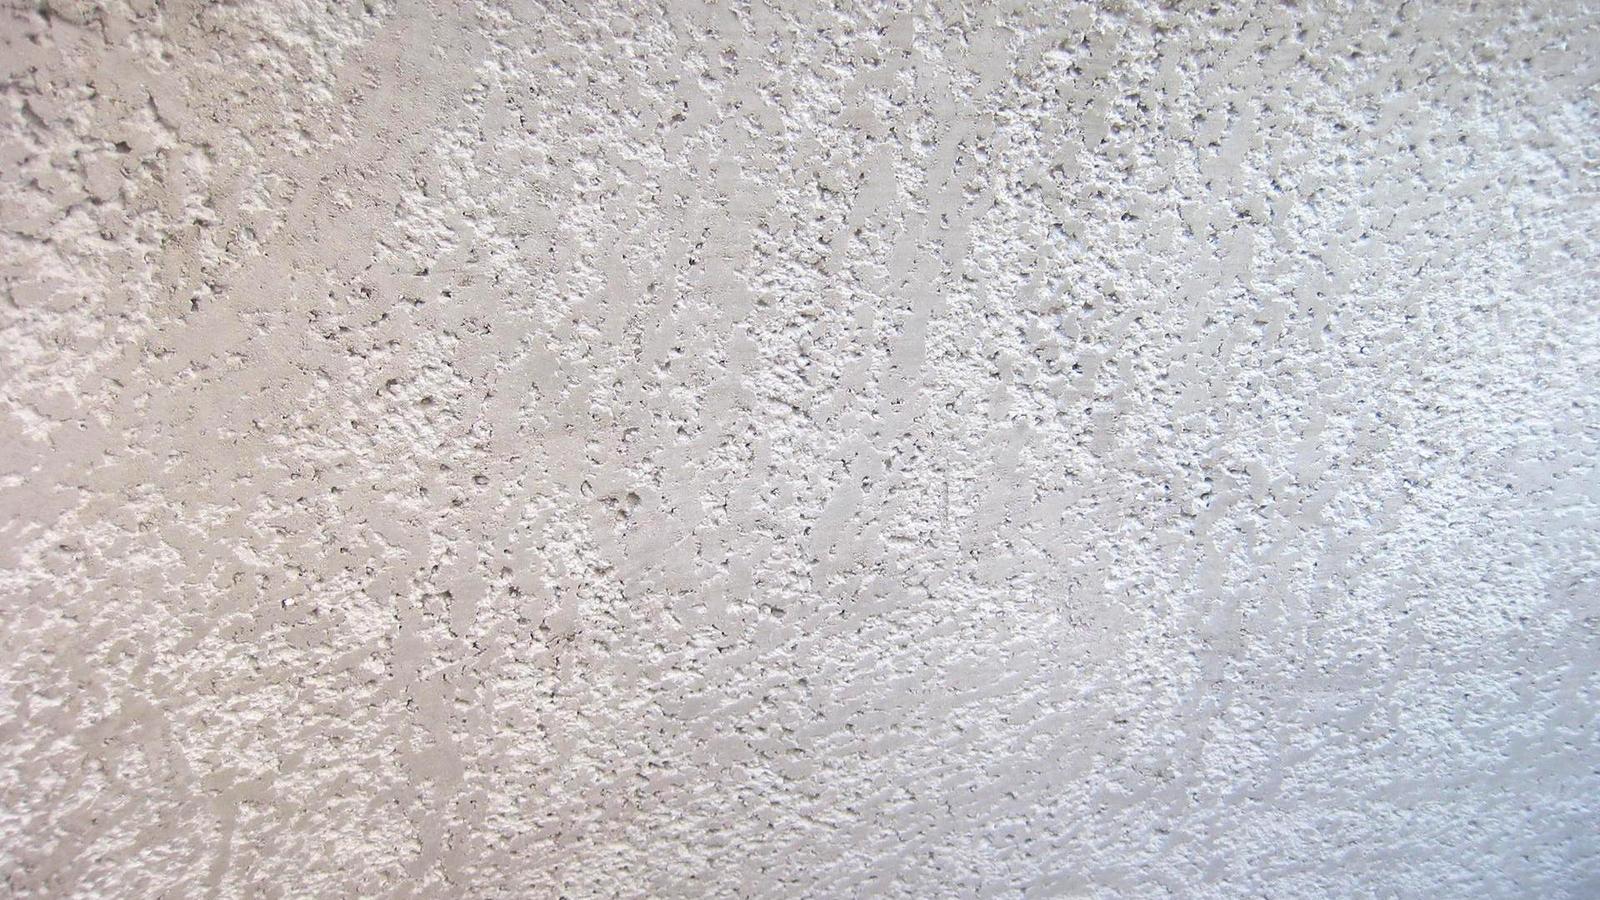
This surface was achieved by spraying with a lime shotcrete mix and then scraping the surface with a shovel, spraying again and scraping the surface with the edge of a trowel. The lime mix really quiets down the interior of the dome.
The shotcrete used to spray this surface was made up of 12 buckets of sand, ½ bag of cement, and one 50 lbs. bag of lime, mixed with water to the desired consistency. Tip: let the shotcrete mix for at least 5 minutes before you put it in the pump because the lime soaks up a lot of water.
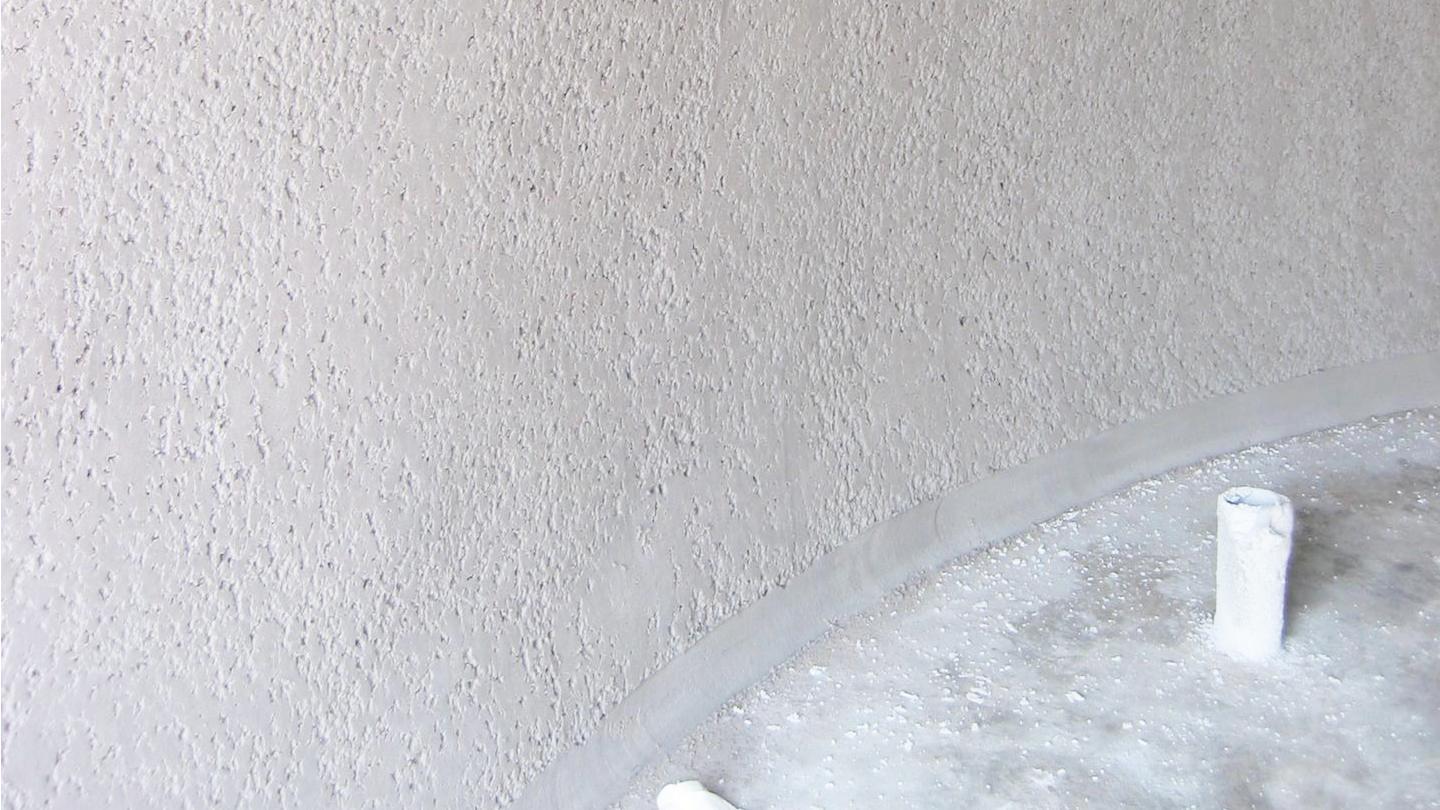
The semi-smooth finish created with a lime shotcrete mix after one coat of paint. This semi-smooth texture adds some labor to the final coats of shotcrete, but the aesthetic payoff is big.
Semi-Finished Surface
For many applications, we want the natural spray finish, but we would like it to be, in general, a smoother surface. In this case, the workman, at the end of each of the last two or three passes of concrete, will shave the interior surface with some device to cut off all the high points, all the “stalactites.” This leaves a more even surface. And then the final shotcrete surface will be much smoother.
We see this more in offices and homes where we want a reasonably smooth surface but do not want to spend the money to trowel it.
Troweled Surfaces
Advantages of Troweling
- Easier to wash and paint.
- To some, it is a more finished look.
Disadvantages of Troweling
- Time required to trowel.
- Money required for materials and labor.
- Sound is more focused from a smooth surface. A rough surface will help dissipate sound.
- Interesting character of the surface is lost.
Often one may choose to trowel a portion of a dome, say in the bedroom or the kitchen. Sometimes it may be below the 8-foot mark, and then leave it rough above. The troweling is generally done with something like plaster after the shotcrete is finished.
It is almost impossible to keep with a shotcrete crew and trowel right behind it. Everyone is in each other’s way. The concrete sets too fast for the workers. There is just too much surface area which needs attention too quickly.
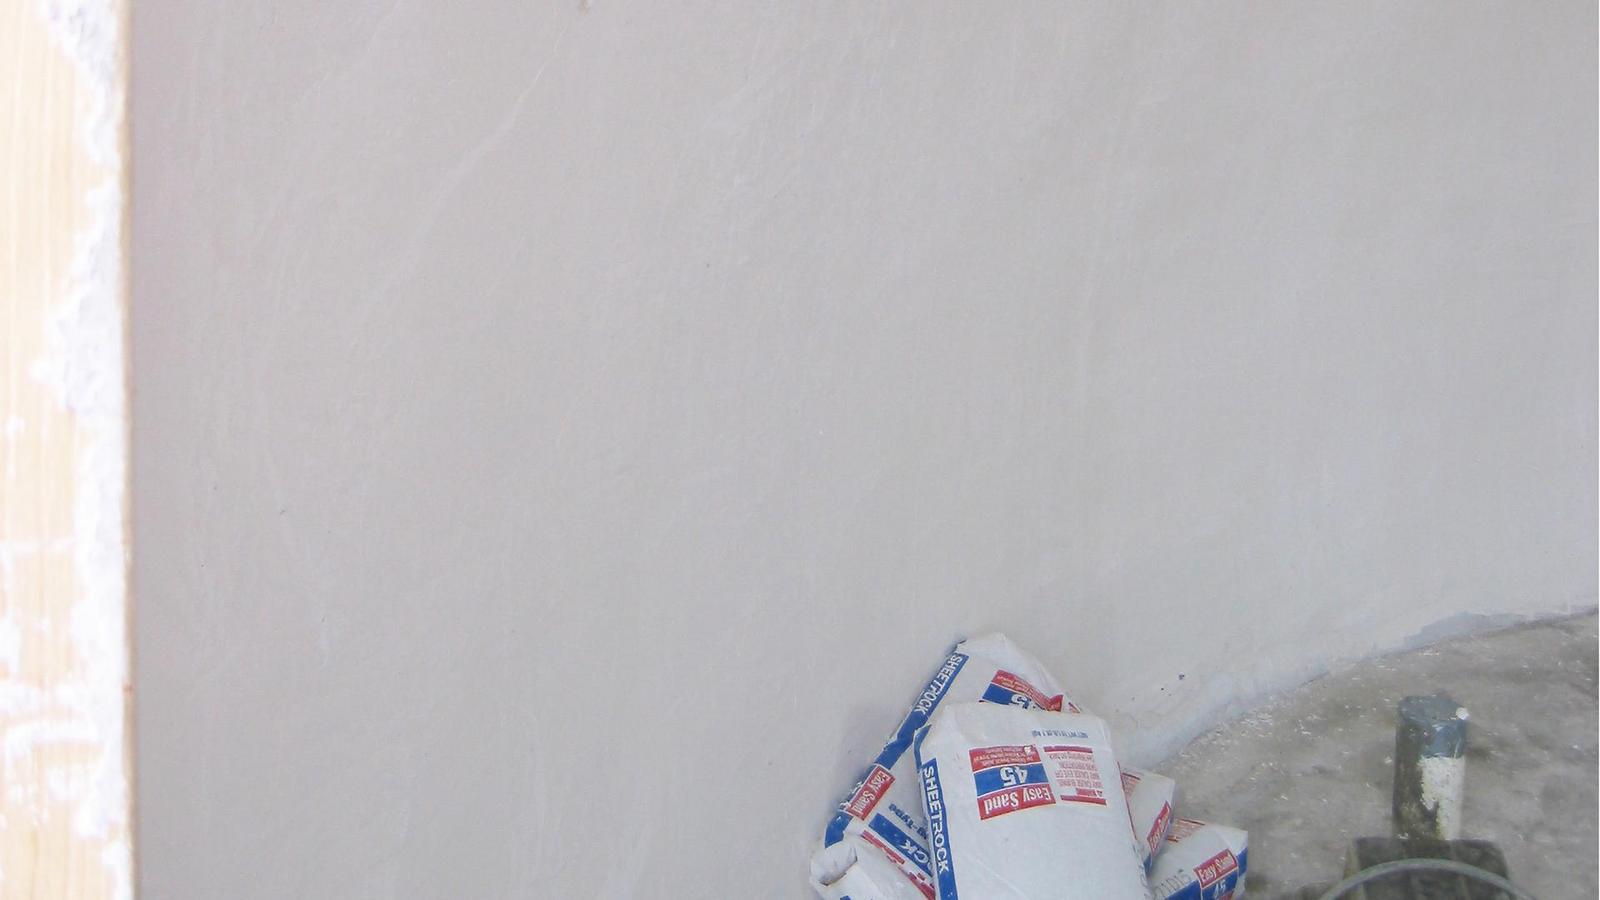
An example of the use of drywall mud over the shotcrete. You can see how smooth the finish is. After being painted, this wall will have a similar texture to conventional interior walls.
Troweling Using Drywall Mud
There are several ways to trowel this next layer. One is just to use drywall mud and apply it as you would any drywall mud. Generally, it applies quite thick, and sufficient time must be given between each coat to allow it to cure and allow the water to evaporate. The first coat or two will crack severely. After they have gone through their cracking, then additional coats can be added. This is extremely easy to do and very fast. The mud can be purchased in premixed buckets or mix it on-site.
Obviously, drywall mud is readily available. It can be purchased in quick-set as well as in normal-set. The quick-set has the advantage of requiring less time between coats. Quick-set costs a little more money. Normal-set needs more time to cure. Drywall mud is always more susceptible to water damage. This is not a problem for occasional washing, but it is a problem if it is going to be continually wet.
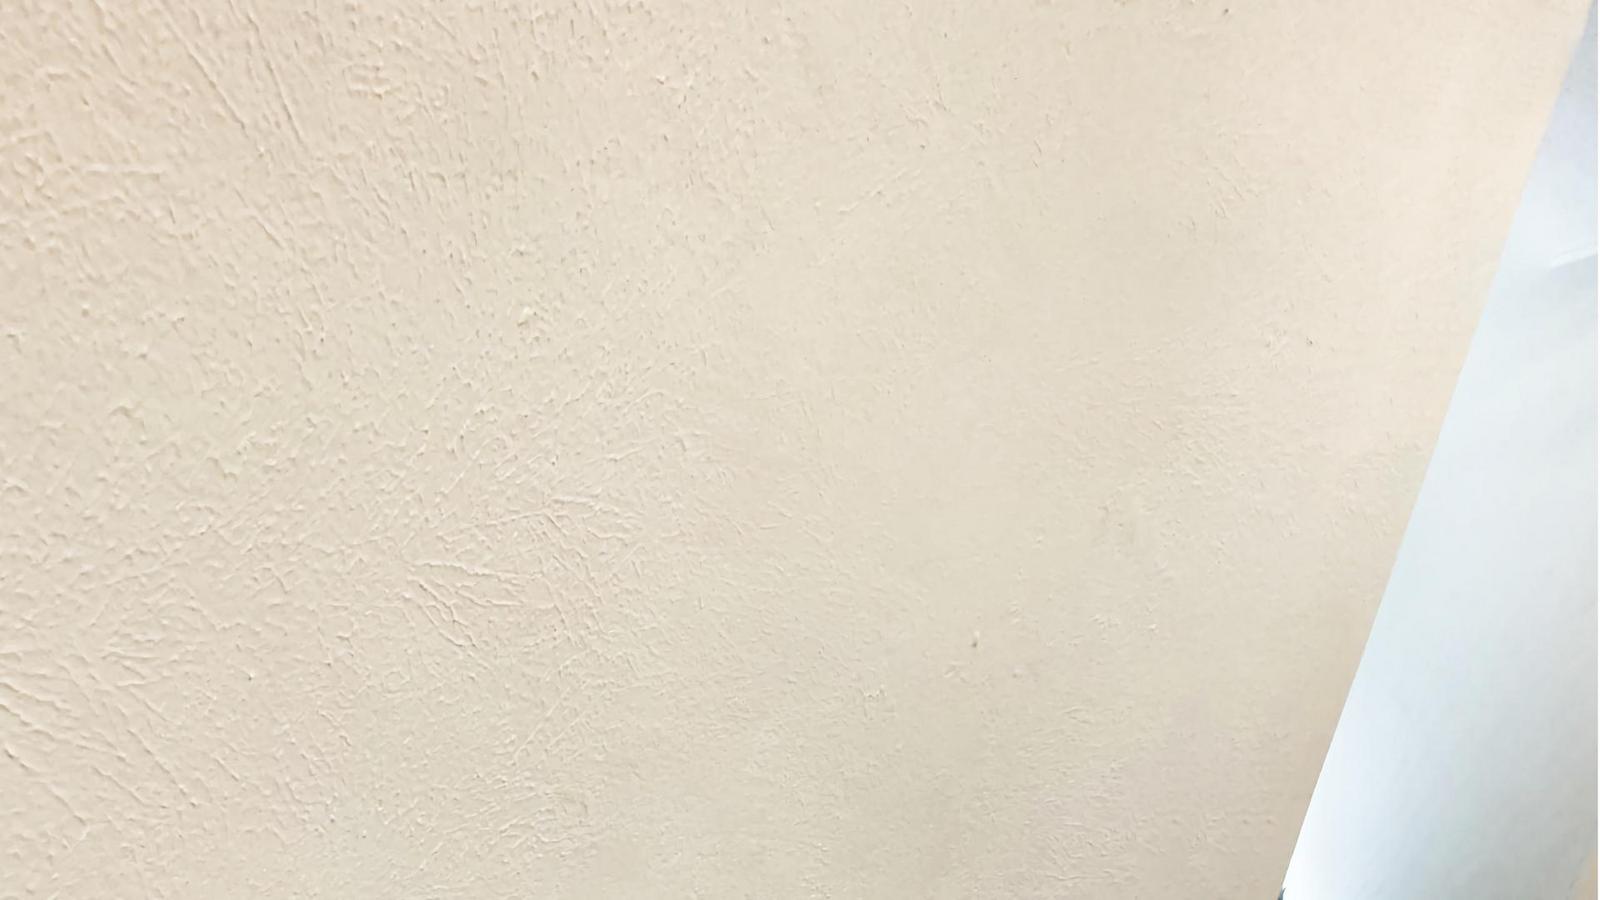
This smooth texture was achieved by applying two layers of plaster to the naturally rough shotcrete surface.
Troweling Using Plaster
Another technique is to use plaster. This is a technique used for years. This plaster is mixed with Portland cement and lime and troweled. This is generally done by someone who has considerable skill in plastering. This method works very well.
The only caution—if the plaster is to be in areas that are to be continually wet, such as shower stalls, then lime should not be used in the plaster. The plaster is generally applied in a two or three-coat process. The first coat is called a “scratch coat.” It is applied basically to size the wall and get it generally smooth. The second coat is either the finish or the “brown coat.” The “brown coat” is smoother than the scratch coat. It is usually applied a week or two later, up to three weeks later, to allow for the cracking in the scratch coat. The final coat can be troweled extremely smooth, or it can be textured.
In today’s world, most of the time, we pay for rough surfaces, especially some heavy textures. After the surface is troweled smooth, the texture is applied using a number of instruments to create an even, heavy texture.
Conventional plaster has been used for centuries. It is an extremely good choice. It is usually a little more money.
Troweling Using Marcite
Marcite could also be used. This is a vinyl plaster used on swimming pools. This would create a very slick surface that could handle a huge amount of water, such as might be utilized for a meat packing plant or another type of clean room.
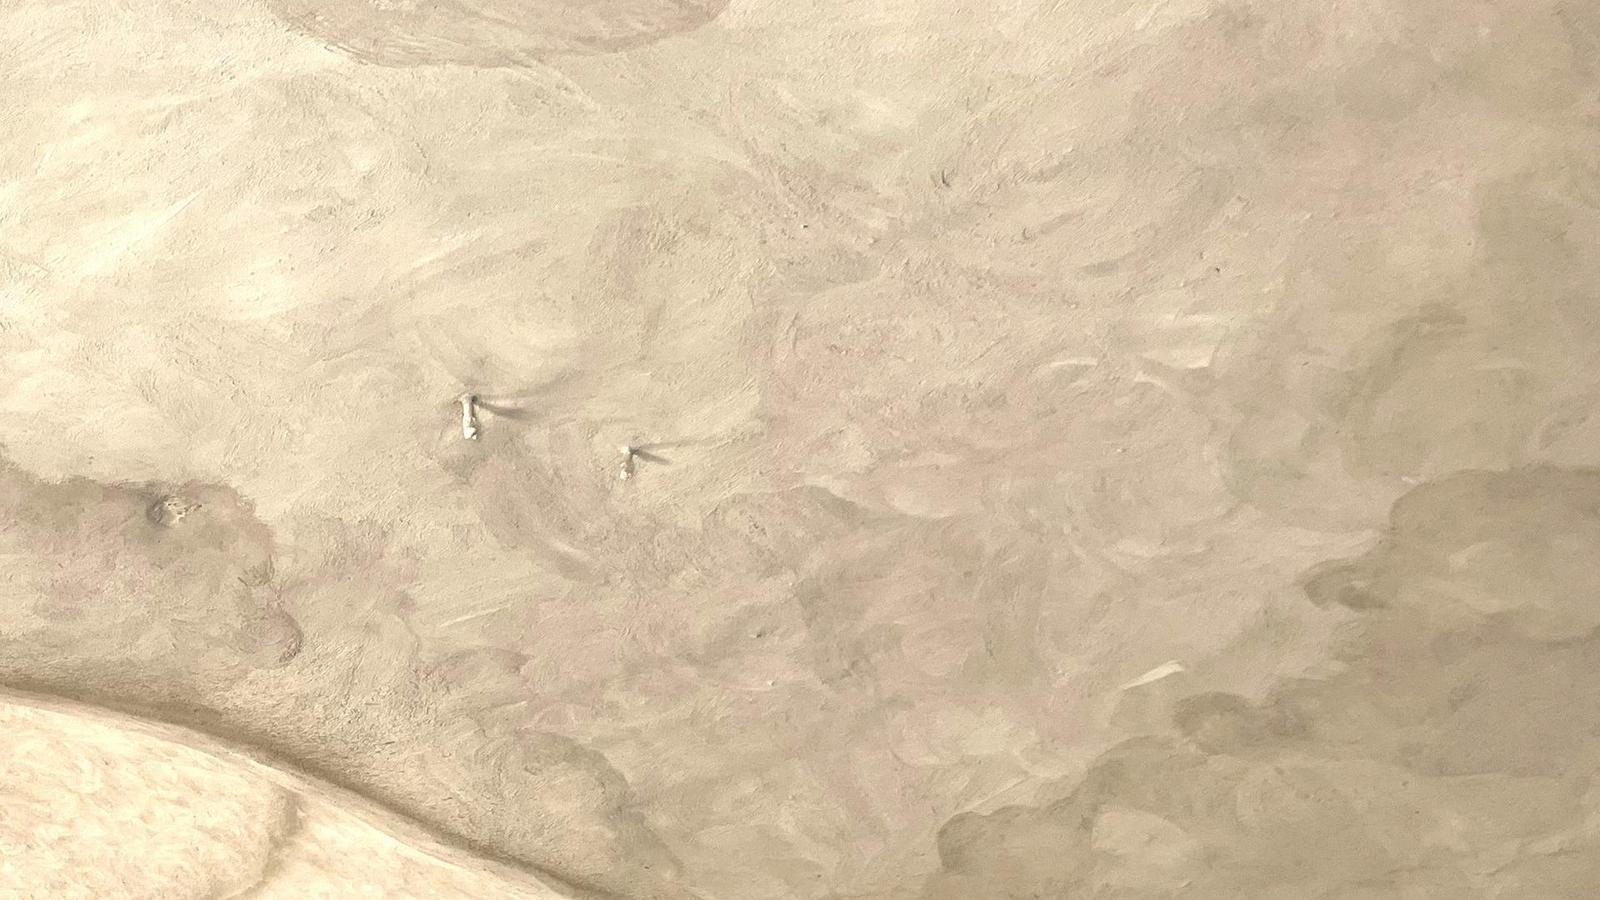
The unpainted interior surface of Ryan Brown’s dome house in Aubrey, Texas. This sponge finish was achieved by trowelling and then smoothing the trowel lines with a sponge.
Sponge Finish Method
This “sponge” finish method takes some experience to perfect. Add Easy Spread to small batches of sand-only shotcrete for the final interior concrete layers. Working in small areas, trowel the shotcrete smooth and then follow up with a sponge to smooth over the trowel lines.